
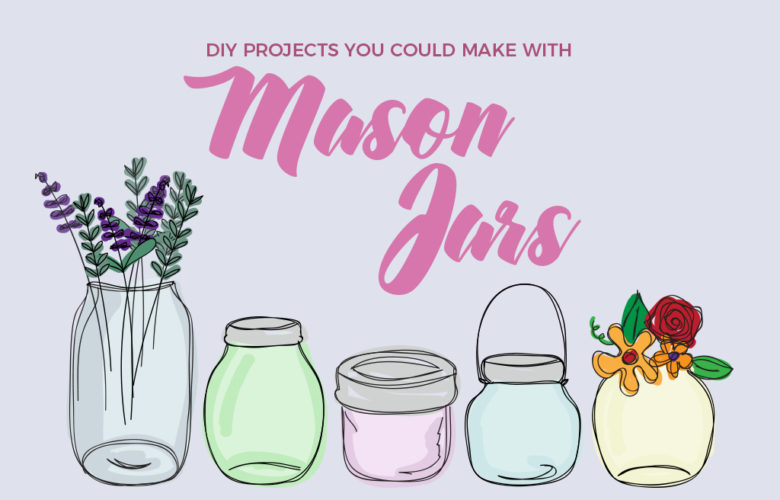
If you are feeling a little bit artsy today, or just want to salvage your used peanut butter or salsa jars, you may try these DIY Projects for your home. It does not only give your free time an added value, it also helps in maximizing that hidden talent you have and gives a little more sentimental value to your lovely house! It’s easy and economical.
Decorating jars are fun – they look simple and elegant and it can somehow be rustic and can be colorfully sassy as well. In simple terms, they are perfect for all kinds of ornamentation purposes and also highly adaptable to different functions. Want to buy a new holder for your school supplies? A new vase for your freshly-picked flowers? Or maybe a container for your homemade cookie dough, s’mores mix, or salad? Mason jars, or jars in general, are very well-fitted for all purposes and all occasions. Let’s take a look at the most basic Home DIY Project you can do with your mason jars.
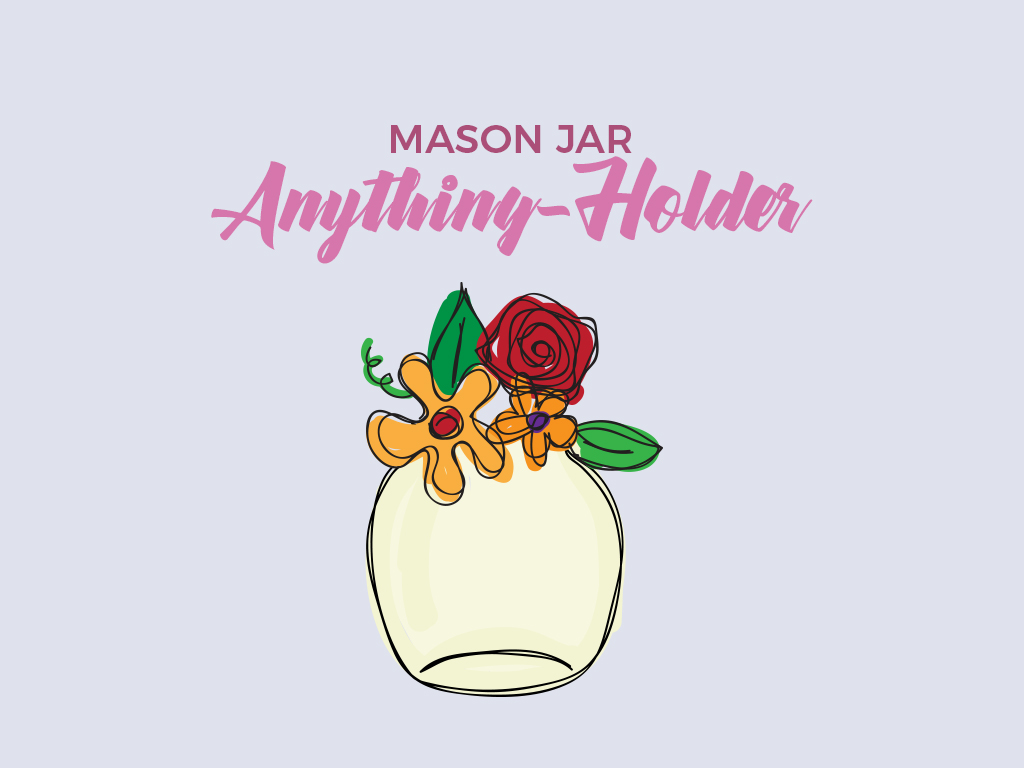
Mason Jar Anything-Holder
What is better than a plain crystal jar? A crystal jar with something in it! If we are going to the extremes of practicality as we are headed to anyway, a piece of toiletry or school supply is always a eureka-worthy idea. It would not only be decorative but it will also be purposeful. The best part of this is that it shall serve as the container and organizer of many of your favorite clutters.
What you will need:
- A mason jar (you may reuse one from your salsa, peanut butter, jam or pickle supply, or buy a new one if there are any in the supermarket)
- Acrylic paint (any color of your choice)
- Clear coat sealant
- Paint brushes
- Some washy tape (optional)
- Ribbon (optional)
What to do:
- First, wash your mason jars. Let them dry. You may use a hair-drier just to make sure that there is no wet surface left
- Grab a brush, choose a base paint and swish over the jars or draw something on the jar. Let your creative juices work.
- Set it aside and let it dry. Meanwhile, you may want to focus on your additional designs. You may make use of ribbons and washy tapes. You may place them around the rim of the jars.
- After letting the first coat dry, grab another brush and choose another color for your lovely jars. Dip it in, get that ROYGBIV color going and coat all over the jar’s surface.
- Let the second coat dry once more. Wait for about 20-30 minutes (if you’re using acrylic). This could get a little bit faster with a blow-dry
- Once dry, coat with the clear coat sealant. A friend once told me she used clear varnish and it worked. You may try it, I’m not sure though, about the results
- Dry it again then depending on what taste you have, add additional decorations, or just leave it as it is.
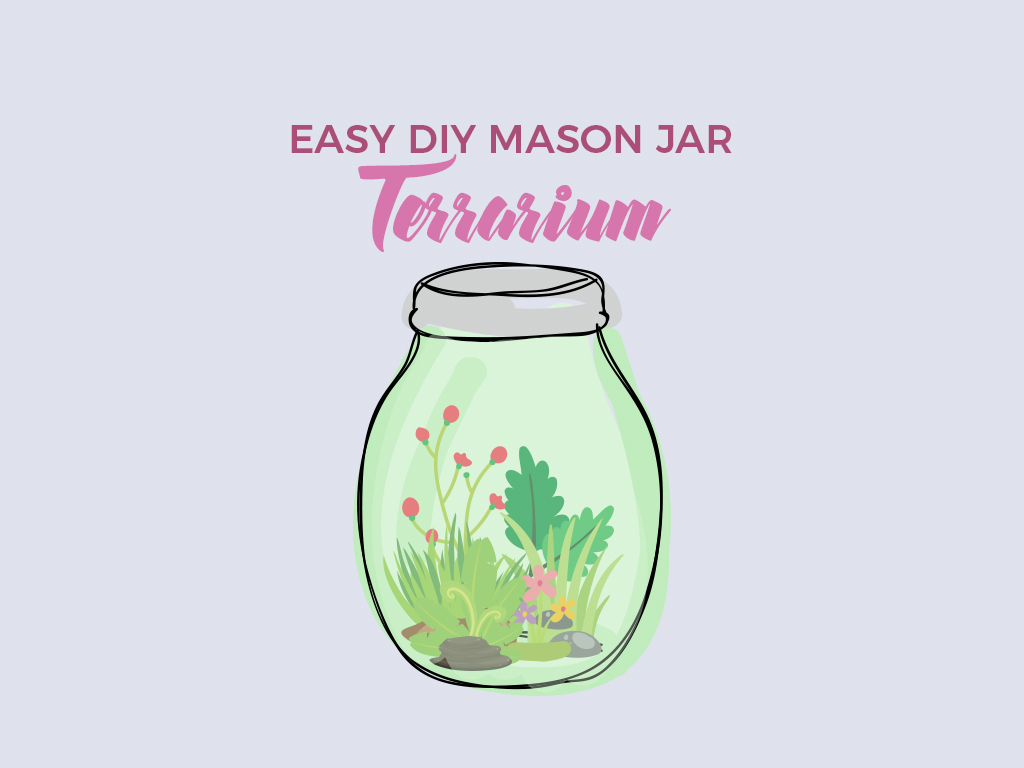
Easy DIY Mason Jar Terrarium
Doing your very own terrarium on a mason jar is one of the most creative ways you can decorate your mason jars. The simplicity of these terrariums would definitely be a perfect decoration for your home – be it at your living room, dining room, or your bedroom!
What you will need:
- A clear mason jar/s (any size)
- Little figurines
- Rocks and pebbles (small in sizes and large in amount)
- Moss, leaves, and twigs (a handful will do)
- Wire cutters
What to do:
- Clean the mason jar/s. Then, wait for them to dry.
- Layer the stones or pebbles at the bottom of the clean mason jar you have. Fill it up to at least 1/5 of the jar or, depending on what looks nicer to you, till a third of the surface.
- Take a bit of the mosses – use very sparingly since they may take up loads of spaces! In addition, this is the step wherein you may add any other greens you would like to put. Just make sure that you put them adequately and in moderation.
- Start putting the greens in your mason jar. Make sure to add the larger one first before the smaller ones in order to avoid hassle. Make use of the wire cutters if you want to trim the twigs that you will put in the jar.
- After that, press them gently on the moss so that they will find ground to keep them in place and to avoid it to topple over.
- Take the little figurines that you have and hot glue them over the moss. Let it dry.
- Seal and display!
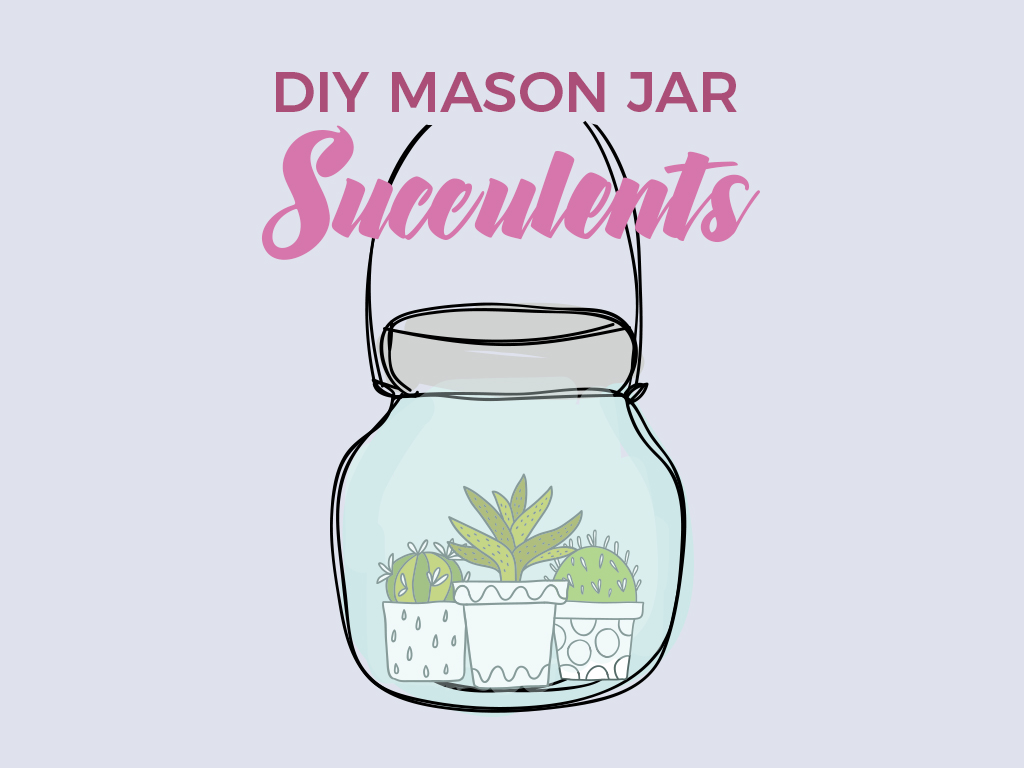
DIY Mason Jar Succulents
If you are one of those people that loves to take care of plants but does not have enough time to take care of them, then this last DIY project is for you. Succulents have been one of the most famous craze of people nowadays – and what better way to enjoy these green friends than to have them in your very own mason jar!
What you will need:
- Mason jar/s
- Bucket (for gathering soil)
- Trowel or spoon (for transferring the dirt gathered)
- Soil and sand (50-50 ratio)
- The succulent plant of your choice
- A few sea shells for decor
- Rocks or pebbles
What to do:
- First, gather the sand and soil in your bucket using your trowel.
- Layer a few rocks and pebbles at the bottom of your jar. This shall serve as your bedrock.
- Cover with a few sea shells for decoration.
- Transfer the soil and sand that you gathered earlier to the mason jar using the spoon. Make sure they are in proportion.
- Plant your favorite succulent on the soil.
- You may add a twine for a finishing touch.
- Water your succulent and place it where there it has enough sunshine.
Key Takeaway
Mason jars are available anywhere. They are very useful too! It is very convenient to create DIY Projects through them and anybody can extend an extra strand of creativity for these.