
Have you been desperately trying to tie that perfect bow, and all it comes out is a big Oh! No? In that case – all you will require is perhaps a change in the styling or some twisting in the bow framing to make it as perfect as a tuxedo. Your problem does have a solution now. In this write-up, you will get answers to the query of how to tie the perfect bow in a couple of steps.
As you scroll through this article, you will find some of the easiest DIY methods you can follow. Along with that – you will also find some areas where you can use this bow to add that ‘click’ to the normal look. So, why wait? Time to explore the wonders that a bow can do –
Table of Contents
How to tie the perfect bow?
In this segment, you will get to see some DIY techniques to tie a bow and some places where you may tie them. Here they are –
#DIY 1 – The Bunny Ear Style
Take a ribbon (any color, average size) and form dual loops in each hand. Once the loops are made, cross one loop over the other (try the right one over the left) and then fold the loops to bring one side back through the center.
Simplifying it – try putting the right side of the loop behind the left one, and then bring it via the center part. Now you can pull the right loop from the center and make a knot out of it. Your bow tie is ready!!
While going through the DIY listicle of how to tie the perfect bow, you can consider this one as your first choice.
#DIY 2 – Tying a bow like a hang tag
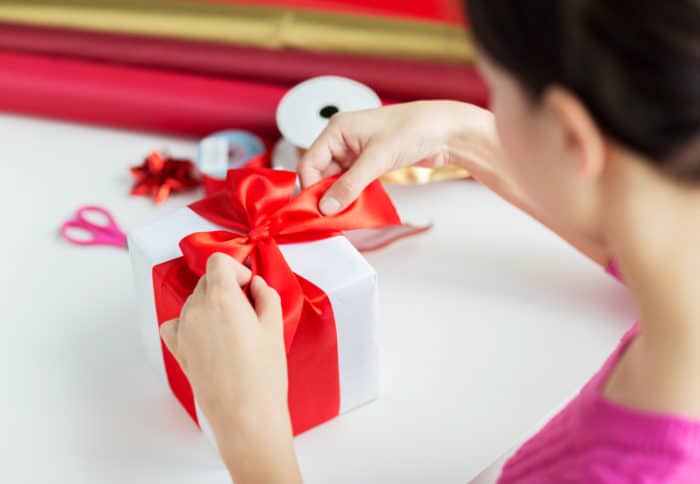
If you are done with the first style – it is time to try out the hanging type. Mostly used to pack gifts, here you will have to take a ribbon that is smaller in size and fits through the hand tags. Take the package; you will have to tie the ‘perfect bow’ and tie the ends in a normal knot.
Now, with both sides hanging, create the loop first. Then you bring the right loop behind the left one and cross them in a way that a V shape is formed beneath the initial knot. Trim off the extra edges and tape the bow that has been created for the best look.
#DIY 3 – Tying the bow in the traditional tuxedo style
The most important style of bow tying while looking for how to tie the perfect bow is the traditional tuxedo format. Place it on your neck in such a manner that one side is shorter by 3-inches than the other. Next – cross both sides and make sure that you tuck up the longer end over the shorter one. This will create the usual knot.
From here – you will again have to take the shorter end and fold it like a normal bow. Now pull down the long side and pluck both ends together. Automatically a loop will be created, and also, after you pluck the ends together, a little position of the knot will be left dangling.
You will have to fold this part of the knot and push it within the loop. To see if it works, try pulling it, and if it fits back ideally, your bow is ready!
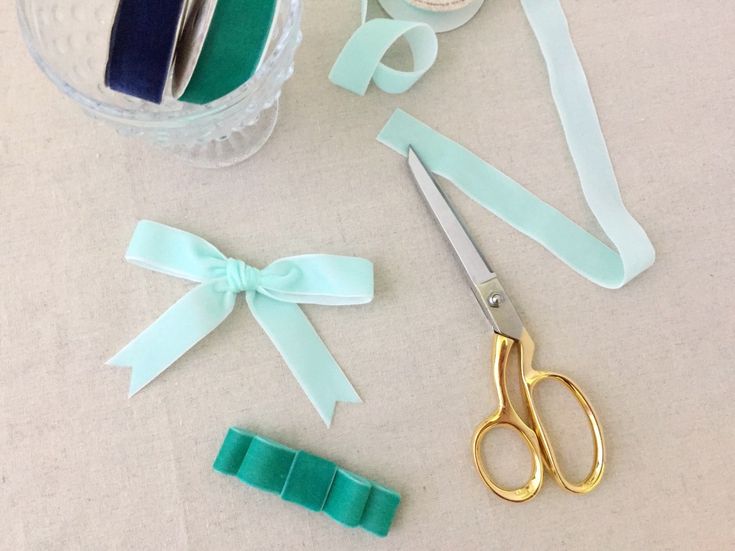
#DIY 4 – Looped bow is a great style
This is another of the unique ways to tie a bow perfectly. Take a long ribbon and leave it straight, do not tie a knot. Now use your forefinger and thumb and make a loop on the left side. Next, you will have to create a second loop on the right side and put it over the left loop.
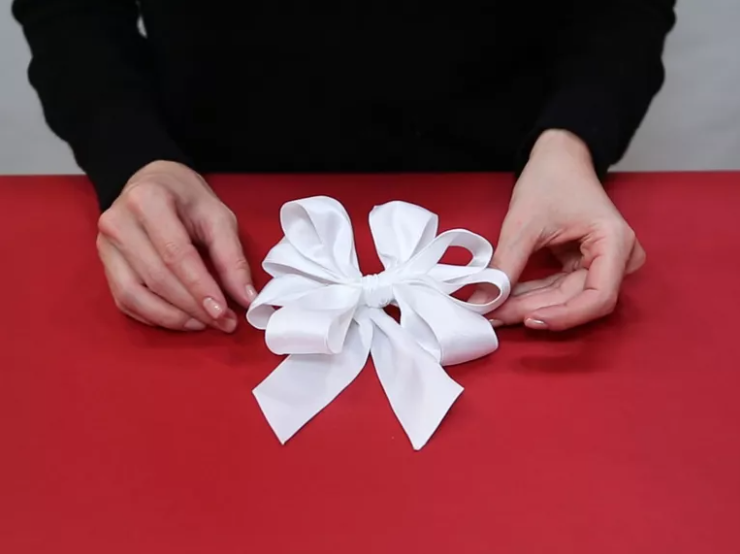
When you put one loop over the other, with the remaining ribbon part, keep constantly looping – till both sides remain at a similar range. Match the loops together and tie them up to create a bouquet-type look. Bring the final touches by fluffing up the loops to create a floral style. Trim the ends. You can always pick up this as one of the go-to styles while looking for how to tie the perfect bow for any event!
Can you pull off a bow tie?
Now that you came to know some process of how to tie the perfect bow, what about knowing how to pull off one?
#1. If you are a first–timer – always go for solid colors. Neutral navy and deep reds are the first choices.
#2. If you are done with the initial vibes, you may go in for a little pattern mix! A paisley or polka-style bow tie can be matched up with either a check shirt or a pinstripe jacket.
#3. Chambray is a good option! As a bow tie, it goes with every look. You can always try to match up this chambray with a denim jacket.
When you tie one – you better pull off one!
Now that you have one idea as to how to tie the perfect bow, how about getting to check where else you could apply the same? When you have learned it, better to use it.
Learned the bow-making? Apply them well
1. Decorate your house with bow ties
Mostly when you have house parties, you want minimal yet elegant decor. In such cases, all you need to do is – hang some bow-ties as enhancements.
Say, for example – take the lounge curtains, part them and tie them to the ends of the pillars with a bow. Else, you can also let them hang normally and insert some contrasting colored bows with some danglers (available in stationery shops) onto them.
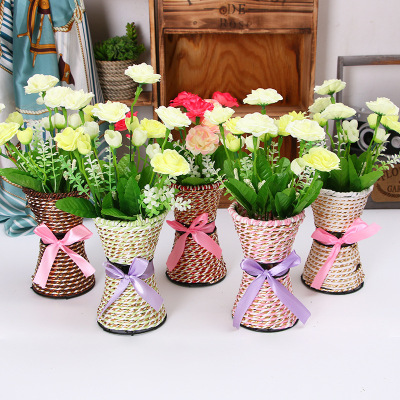
Now say you have a vase that you want to place on the dining or the coffee table. You can always tie a bow to it with a stick-on to enhance the look of the party. Don’t forget to add some daisies or dandelions!
2. Hairstyles out of it
Another way of utilizing your knowledge of how to tie the perfect bow is by using the bow-ties in myriad ways. Going back to the 70s, you can either choose the bunny ear style or the tuxedo style bow to tie your hair.
First, make the bow with the ribbon, and then go in for the ponytail or the half-knot style. Pin up the bow accordingly, and then you can put some hairpins to enhance your look.
3. Style up your dresses with it
Adding a bow tie to your western or eastern dress can turn a flat look into a hip one! So even if you are wearing a simple midi-dress or a floral one-piece – you can always add a bow tie on one side of your dress. But make sure it is in contrasting colors.
You can do the same, even while wearing any ethnic dress. You just have to add a dangler-type jewel or a brooch to improve the ethnic look.
4. Ever thought of pairing it up with your additionals?
So by now, you know the basics of how to tie the perfect bow; why don’t you add them as some additional accessories? Add a bow tie to your handbag, and tap up the look with a keychain hanging on it. If that’s done, then what about your ballerinas? Turn that flat pair of shoes into a stylish trot-on by pasting a bow tie on it.
If it’s a black shoe – choose a pink bow tie or a green one. Go in for contrasts for best results.
Bowing your way with style
That was all about various ways of how to tie the perfect bow. Pick up any of these DIY methods and try them out. Do visit this page to leave your comments below. Also, if you want to know more about such DIY techniques – keep following this page.